Can I Use Rust with Arduino Uno? Getting Started with Embedded Rust
Learn how to use Embedded Rust with the Arduino Uno. Get started with Rust on the ATmega328P and discover the tools and libraries needed to build your first Rust program. Embedded Rust keeps getting more mature, and most people use boards like the ESP32, Raspberry Pi Pico or STM32 with Rust. At least, those are the boards I have used most for Embedded Rust. But what if you already have an Arduino Uno? Can you use Rust with it? The answer is YES. The Arduino Uno uses the ATmega328P, an 8-bit AVR RISC microcontroller with 32 KB of flash memory, 2 KB of SRAM, and 23 general-purpose I/O pins. With such limited resources, you might wonder if a Rust program can actually fit on the board. This question sometimes comes up on social media. Some people see the large binary size of Rust programs on desktop and assume Rust will also be too large for microcontrollers. But Embedded Rust has a different side. With By the way, I didn’t have an Arduino Uno before this, and I had never coded with the Arduino IDE either. I just bought one (a cheap clone) to experiment with Rust :) Don’t judge Embedded Rust based only on the Arduino Uno experience. The AVR platform and avr-hal have their own limitations, and the experience can be quite different on other microcontrollers. For example, I like Embassy, which makes it easier to work across different boards and use async programming. For programming the Arduino Uno with Rust, we will use For the Arduino Uno specifically, we will use I am using an Ubuntu-based Linux distribution. For other operating systems, or if these steps change in the future, refer to the First, install the AVR development tools and the required system packages: We also need Finally, install The With the required tools installed, we are ready to create our first Rust project for the Arduino Uno. The Run the following command: The template will ask a few questions. Select Arduino Uno as the board and enter a name for your project. I will use “hello-blinky” as the project name. Once the project is created, move into it: The project template already gives us a simple LED blink program in The Arduino Uno has an onboard LED connected to pin 13. The program configures the pin 13 as an output and toggles it every second, making the LED blink. Let’s build and upload the program to the Arduino Uno: If For my Arduino Uno clone, this shows Pass the detected port to After the program is uploaded, the onboard LED should start blinking. Now, let’s see how much space our Rust program actually uses. If we look at the generated files: We can see that At first, this looks like it would not fit into the Arduino Uno’s 32 KB flash memory. But the ELF file also contains debugging information and other data used during development, so it is not the actual firmware size. We can use the For our program: So our program uses only 262 bytes of flash out of the Arduino Uno’s 32 KB. The 70 KB ELF file is not the actual firmware size. In Embedded Rust, Then: The release mode build can help reduce the firmware size. You can build it with The You can find them in the So, can you use Rust with an Arduino Uno? Yes. We just did it, and our first Rust program used only 262 bytes of flash. The I have only tried a simple blinky so far, so I still need to build some real applications and see how the experience goes. I bought the Uno mainly to experiment with Rust. Once again, if you want to see the better side of Embedded Rust, try the ESP32 family, Raspberry Pi Pico, or STM32. You should also explore the Embassy framework. Embassy is an async runtime for embedded systems, using Rust’s async and await features.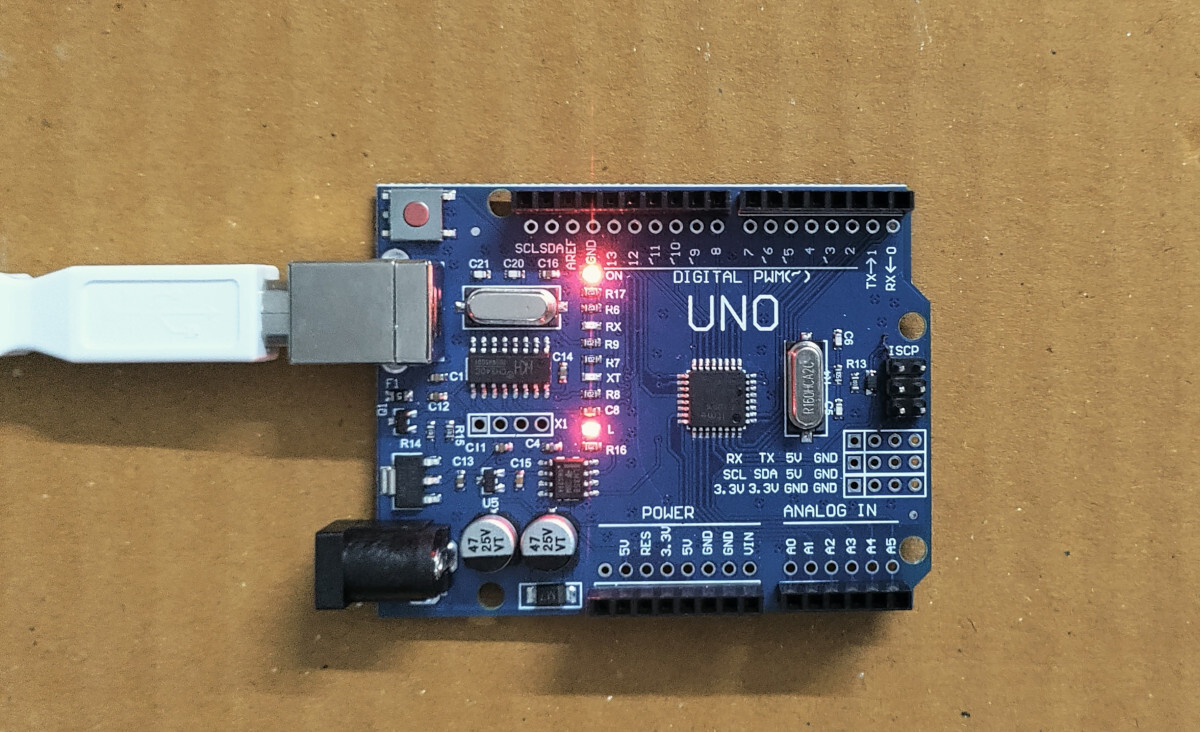
no_std, we can write programs without the standard library and target small microcontrollers directly. So instead of guessing, let’s try it on the Arduino Uno and see how much space our Rust program actually needs. AVR HAL
avr-hal. It is a Hardware Abstraction Layer for AVR microcontrollers and boards such as the Arduino Uno.arduino-hal. It is a batteries-included HAL for Arduino and similar boards. It is designed to abstract away the differences between boards as much as possible, so we can use a consistent API when working with different Arduino boards. Development Setup
avr-hal repository for the latest setup instructions.sudo apt install avr-libc gcc-avr pkg-config avrdude libudev-dev build-essentialravedude, a CLI utility that makes Rust development for AVR microcontrollers easier. It wraps avrdude for flashing and also provides access to the board’s serial console, similar to the Arduino IDE.cargo +stable install ravedudecargo-generate. It is a Cargo subcommand that allows us to create a new Rust project from an template. We will use it to create our Arduino Uno project from the avr-hal template:cargo install cargo-generateavr-hal project currently uses the Rust nightly toolchain. Don’t worry about setting this up manually. The project template that we are going to use includes the required configuration, so we can simply use the template and let it take care of the Rust toolchain for us. Creating the Project
avr-hal project provides a template that sets up the required configuration for our Arduino Uno project.cargo generate --git https://github.com/Rahix/avr-hal-template.git# cd your-project-name
cd hello-blinky Our First Rust Program
src/main.rs. We don’t need to change anything for now.#![no_std]
#![no_main]
use panic_halt as _;
#[arduino_hal::entry]
fn main() -> ! {
let dp = arduino_hal::Peripherals::take().unwrap();
let pins = arduino_hal::pins!(dp);
/*
* For examples (and inspiration), head to
*
* https://github.com/Rahix/avr-hal/tree/main/examples
*
* NOTE: Not all examples were ported to all boards! There is a good chance though, that code
* for a different board can be adapted for yours. The Arduino Uno currently has the most
* examples available.
*/
let mut led = pins.d13.into_output();
loop {
led.toggle();
arduino_hal::delay_ms(1000);
}
} Running the Project
cargo runravedude cannot automatically detect the serial port, we can find it manually. On Linux, run:ls /dev/ttyUSB* /dev/ttyACM*/dev/ttyUSB0. Your port may be different.ravedude using the -P option:cargo run -- -P "/dev/ttyUSB0" How Big Is the Rust Program?
ls -lh ./target/avr-none/debug/hello-blinky.elf is around 70 KB:-rwxrwxr-x 2 user user 70K hello-blinky.elfavr-size command to check how much flash and SRAM our program uses:avr-size -C --mcu=atmega328p target/avr-none/debug/hello-blinky.elfAVR Memory Usage
----------------
Device: atmega328p
Program: 262 bytes (0.8% Full)
(.text + .data + .bootloader)
Data: 1 bytes (0.0% Full)
(.data + .bss + .noinit)cargo size is also commonly used to check the size of a program. We can install the required LLVM tools with:rustup component add llvm-toolscargo size text data bss dec hex filename
262 0 1 263 107 hello-blinky.elfcargo build --release (or run it with cargo run --release). However, for this program, it didn’t make much difference. More Examples
avr-hal project has a collection of examples showing how to work with different peripherals and features. There is a separate set of examples for the Arduino Uno.avr-hal examples directory. Final Thoughts
avr-hal project does not seem to have much recent development activity, and it currently uses the nightly-2025-04-27 Rust toolchain. The project template uses the same nightly version. Because of this, tools such as Rust Analyzer can complain about the old toolchain, which makes development a little harder.